
TongXi Industrial Zone, YongKang City, ZheJiang Prov., China.
Views: 0 Author: Site Editor Publish Time: 2025-07-22 Origin: Site
To install tactile tile correctly, you need to prepare the surface, select the right adhesive, and ensure each tile sits level and secure. Careful preparation prevents common problems. Industry studies identify several frequent causes of installation failure:
Uneven surfaces make tactile tile patterns hard to feel and can lead to cracks or loose tiles.
Using the wrong adhesive or missing steps often causes tiles to lift, creating tripping risks.
Skipping quality checks means you might miss loose tiles or unclear patterns.
Choose RY Tactile Tiles for dependable accessibility and safety. This installation guide helps you avoid mistakes and achieve a lasting result.
Prepare the surface by cleaning, leveling, and removing debris to ensure tiles stick well and last longer.
Choose the right tactile tile material based on location and traffic, such as PVC for general use or stainless steel for heavy-duty areas.
Use proper tools and adhesives to fix tiles securely, combining mechanical fixing and adhesive for outdoor or high-traffic spots.
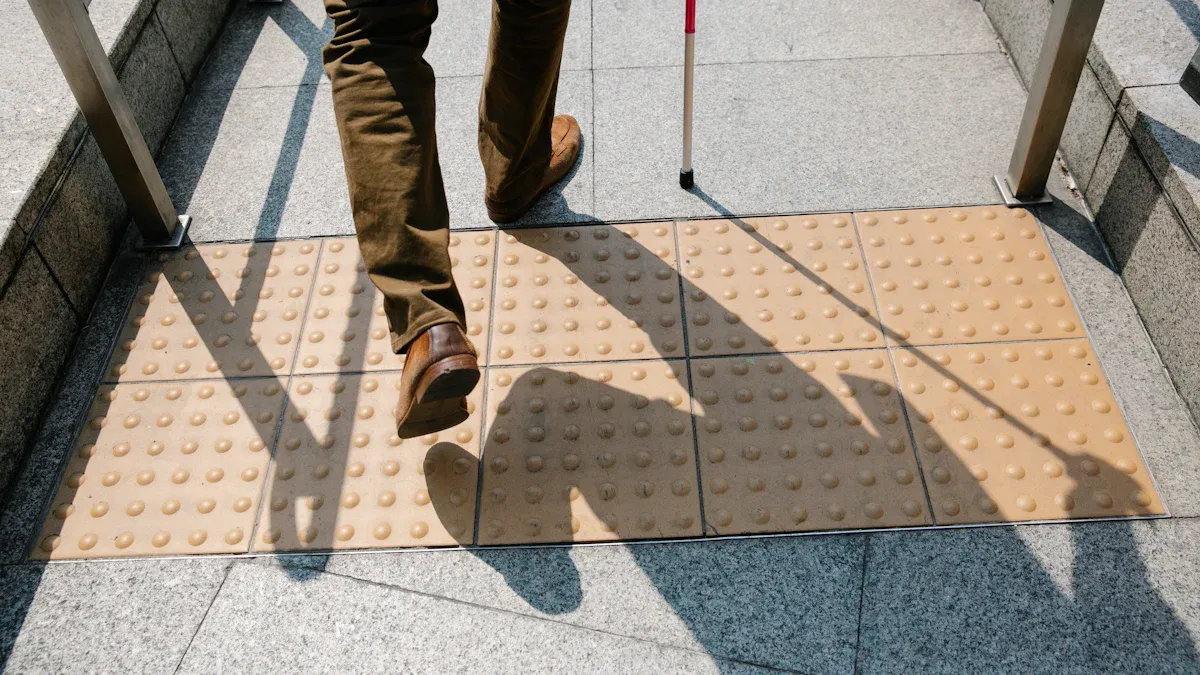
Align tiles carefully during installation to keep patterns clear and safe for visually impaired users.
Maintain tactile tiles regularly by cleaning, inspecting, and deep cleaning to keep them safe and durable over time.
To install tactile tiles for blind and visually impaired users, you need the right tools for a safe and lasting result. Professional installers recommend these essential tools:
Surface preparation tools help you clean and level the area before installation.
Adhesives, matched to your tile material and surface, ensure a strong bond.
Drilling templates guide you to place holes accurately.
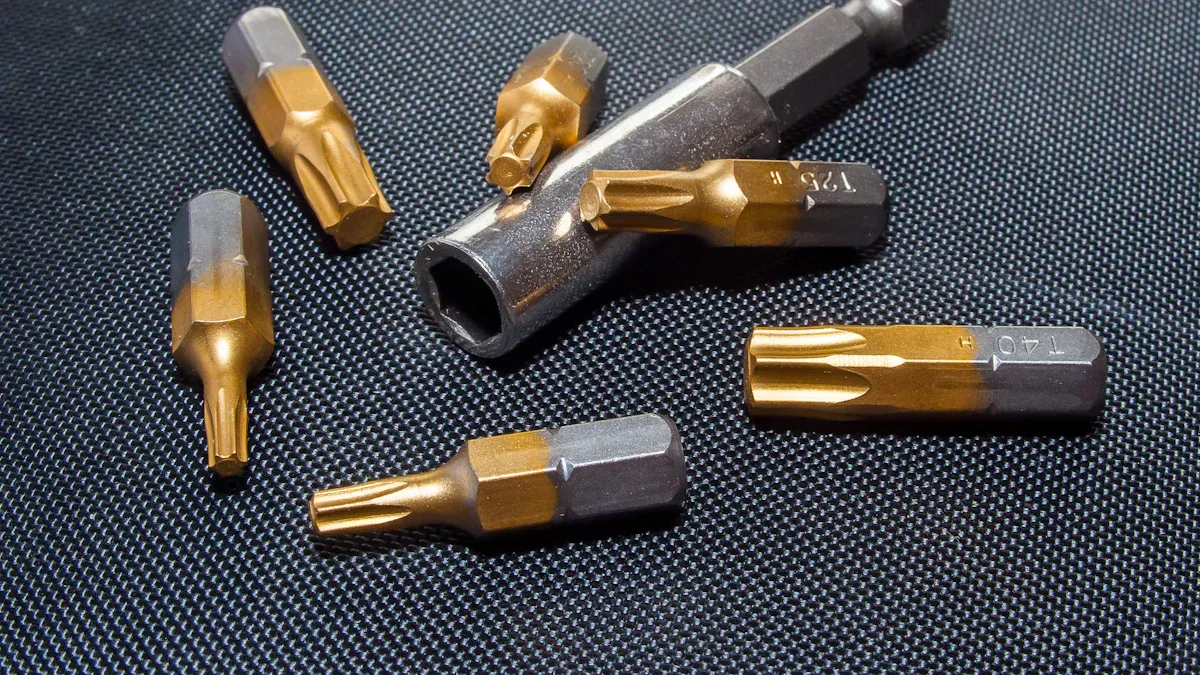
Drill machines allow you to create holes for mechanical fixing.
Core drill bits and hammer drill bits give you flexibility for different surfaces.
Tip: Using the correct tools helps you achieve precise alignment and long-term durability for tactile paving tiles.
You have several material options when choosing tactile tiles. RY Tactile Tiles come in PVC, polyurethane, and stainless steel. Each material offers unique benefits for different environments.
| Material | Key Features | Best Use Cases |
|---|---|---|
| PVC | Lightweight, anti-slip, anti-UV, easy to handle | Indoor/outdoor, retrofits, walkways |
| Polyurethane | UV-stable, weather-resistant, moderate durability | High-traffic, outdoor, curb ramps |
| Stainless Steel | High durability, corrosion-resistant, low upkeep | Busy intersections, export projects |
PVC and polyurethane tactile tiles provide slip resistance and UV protection. These features help the tiles stay safe and colorfast, even in harsh outdoor conditions. Stainless steel tactile tiles offer excellent durability and require little maintenance, making them cost-effective over time. You can use these tactile paving tiles in public spaces such as sidewalks, train stations, and commercial complexes.
When you select tactile tiles, consider both the initial investment and long-term maintenance. High-quality materials like those from RY help you meet accessibility standards and ensure safety for everyone.
Proper surface cleaning is the first step in any tactile paving project. You want to make sure the area is ready for installation. Start by removing all loose materials, dust, and debris from the surface. Use a broom or vacuum to clear the area. If you see any oil, grease, or wax, clean these spots with a suitable cleaner. These substances can prevent the adhesive from bonding well.
Next, check for any cracks, holes, or uneven spots. Fill all voids and smooth out any bumps. The surface should feel flat and even under your hand. If you work on concrete, granite, or tile, make sure the area is dry and free of any sealers or curing compounds. Sometimes, using a primer helps the adhesive stick better, especially for surface-mounted tactile paving.
Tip: A clean, smooth, and dry surface ensures your tactile paving tiles stay secure and last longer.
After cleaning, you need to plan the layout for your tactile paving. Accurate marking helps you meet installation requirements and keeps the tiles straight. Measure the area where you want to install the tiles. Use chalk lines or masking tape to outline the perimeter. For surface-mounted tactile paving, lay tape in 600mm strips to keep your lines straight and prevent adhesive from spreading.
Gather all your tools, such as a trowel, level, rubber mallet, and tile cutter. Double-check your measurements to make sure you have enough tiles for the space. Before you start, review the compatibility of RY Tactile Tiles with your surface. The table below shows common settings and recommended installation methods:
| Environment / Setting | Compatible Surface Types | Recommended Installation Methods | Material / Finish Notes |
|---|---|---|---|
| Shopping Malls & Commercial | Tiles, Marble | Adhesive bonding, Drilling | Polished stainless steel or brass for decorative finish |
| Hospitals & Educational | Indoor tile floors | Adhesive bonding | Stainless steel or PU/PVC for durability and quietness |
| Public Transit Hubs | Concrete floors, Polished floors | Drilled or threaded fixing | 316-grade stainless steel with anti-slip surface |
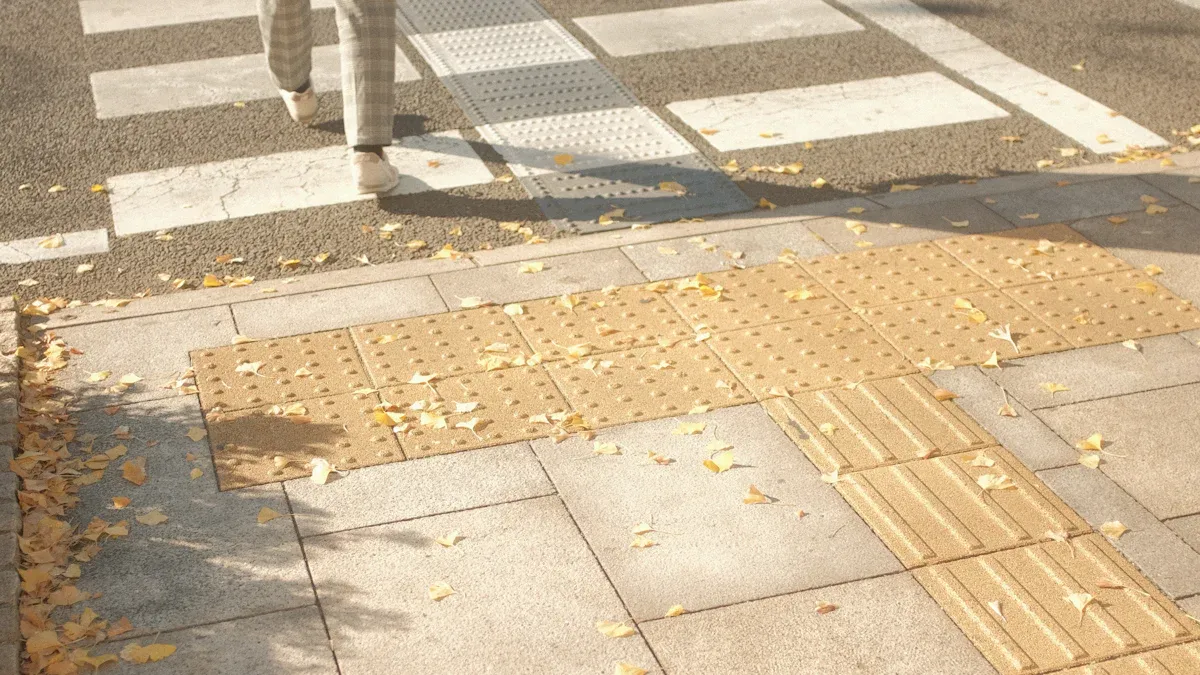
| Sidewalks, Crosswalks, Parks | Outdoor pavements | Drilled anchoring, Adhesive | Stainless steel or aluminum, weather-resistant finishes |
| Government Buildings & Lobbies | Various architectural floors | Epoxy bonding or screw mounting | Brass or anodized aluminum, decorative and anti-slip |
| Industrial Sites & Warehouses | Concrete, heavy-duty floors | Bolts or industrial-grade adhesives | High-durability stainless steel with textured surfaces |
RY Tactile Tiles work well with many surfaces, including concrete, tile, and granite. This flexibility makes them a smart choice for both indoor and outdoor tactile paving projects.
Installing tactile tile requires careful planning and attention to detail. This step-by-step guide will help you complete the installation process with confidence and accuracy.
Start the installation process by preparing the surface and marking the layout. Use a chalk line or masking tape to outline where each tactile tile will go. Follow these steps for drilling and fixing:
Trace the outline of each tile on the surface using your layout marks.
Place a drilling template over the marked area to guide your drill holes.
Use a drill machine with the correct bit for your surface (concrete, granite, or tile).
Drill holes at each marked spot, keeping the drill steady for clean holes.
Insert nylon plugs or anchors into each hole to secure the fixing pins.
For outdoor installations, combine mechanical fixing with adhesive for extra durability.
Tip: Always wear safety goggles and gloves when drilling to protect yourself from dust and debris.
The next step in the installation process is applying adhesive. The right adhesive ensures a strong bond and long-lasting results. Here is a table of recommended adhesives for tactile tile installation on concrete:
| Feature/Aspect | Details |
|---|---|
| Adhesive Used | Chemlink M1 Structural Adhesive, 3M VHB 5925 (self-adhesive) |
| Application | Spread evenly with a notched trowel; use self-adhesive for quick jobs |
| Installation Time | 5-10 minutes per tile |
| Compliance | Meets ADAAG, PROW, and California Title 24 requirements |
| Durability | Designed for safe, long-lasting installation on concrete |
Follow these steps for adhesive application:
Clean the surface again to remove any dust from drilling.
Apply the adhesive according to the manufacturer’s instructions.
Use a notched trowel to spread the adhesive evenly, keeping a consistent thickness.
For outdoor areas, use both adhesive and mechanical fixing for best results.
Place gaffer tape along the edges of your layout to prevent adhesive bleed.
Note: Self-adhesive options work well for indoor or less demanding outdoor areas. For high-traffic or outdoor spaces, always use mechanical fixing with adhesive.
Proper alignment is critical in the installation process. Misaligned tactile tiles can create hazards for visually impaired users. Use this step-by-step guide to lay the tactile tiles correctly:
Position the first tile along your marked line, making sure it aligns with the layout.
Press the tile firmly into the adhesive, starting from the center and moving outward.
Use a rubber mallet to tap the tile gently, ensuring full contact with the adhesive.
Check the alignment with a level and adjust as needed before the adhesive sets.
Repeat the process for each tile, maintaining the recommended joint spacing.
Use gaffer tape between tiles to keep joints clean and prevent adhesive from seeping out.
Periodically check the alignment during the curing period to ensure a uniform walking surface.
Seal any exposed edges to prevent dirt buildup.
Important: Avoid foot traffic on the tiles for at least 24 hours after installation. This curing time allows the adhesive to set fully and ensures the tiles stay secure.
You may need to cut tactile tiles to fit around corners, edges, or obstacles. The right tools make this part of the installation process easier and safer. Recommended tools include:
Manual tile cutters with scoring wheels for straight cuts.
Wet saws or angle grinders for intricate shapes and corners.
Tile nippers for small notches or curves.
Specialized corner chisels and trimmers for precise corner cuts.
Always match your cutting method to the tile material. For example, use a wet saw for stainless steel or a manual cutter for PVC. Take your time to measure and mark cuts carefully. Smooth any rough edges before placing the cut tile.
Tip: Wear a dust mask and safety glasses when cutting tiles to protect yourself from debris.
By following this step-by-step guide, you can complete the installation process efficiently and safely. Consistent alignment, proper adhesive use, and careful cutting help you achieve a professional finish that meets accessibility standards.
After you place the tactile tiles, check for any excess grout or adhesive around the edges. Use a damp sponge or cloth to wipe away residue before it dries. This step keeps the surface clean and prevents buildup that could cause slips. For tougher spots, use a plastic scraper to avoid scratching the tiles. Once the grout sets, sweep the area to remove dust and debris. If you install tactile paving outdoors, you may need to rinse the surface with water to clear away any leftover materials. Clean tiles help maintain their anti-slip properties and keep the area safe for everyone.
Tip: Always use gentle cleaning tools to protect the raised patterns on your tactile tiles.
Let the adhesive and grout cure fully before allowing foot traffic. Most adhesives need at least 24 hours to set, but always follow the manufacturer’s instructions for best results. After curing, inspect each tile for secure placement and proper alignment. Walk over the tactile paving to check for movement or uneven spots. Make sure the raised dots or bars feel consistent underfoot. If you find any loose tiles, reapply adhesive and press them back into place. A careful final check ensures your installation meets safety standards and lasts longer.
Regular maintenance keeps your tactile paving in top condition. You should sweep or remove debris every week, especially in busy areas. Inspect the tiles each month for signs of wear, damage, or shifting. Pressure wash the surface every few months to remove dirt and stains, but use a gentle setting to avoid damage. Plan a deep clean once a year with suitable cleaners for your tile material. Assess the entire installation annually to ensure it still meets accessibility requirements. RY Tactile Tiles offer long-lasting performance and resist slipping, but routine care extends their lifespan.
Here is a simple maintenance schedule to follow:
| Maintenance Task | Frequency | Notes |
|---|---|---|
| Visual Inspection | Monthly | Check for damage, displacement, or wear |
| Sweeping/Debris Removal | Weekly or as needed | More frequent in high-debris or autumn seasons |
| Pressure Washing | Quarterly or as needed | Use appropriate pressure to avoid damage |
| Deep Cleaning | Annually | Use suitable cleaners for stains and materials |
| Detailed Assessment | Annually | Comprehensive compliance evaluation |
| Replacement Planning | Every 3-5 years | Based on condition assessments |
By following these steps, you help your tactile paving stay safe, clean, and effective for years to come.
You can install tactile tiles for blind users by following each step carefully. Start with surface preparation, use the right tools, and check alignment. Here is a quick checklist:
Clean and level the surface
Mark layout lines
Drill and fix tiles
Apply adhesive and align tiles
Finish with cleaning and inspection
Professional groups like the NTCA recommend consulting experts to ensure your installation meets industry standards. High-quality tactile tiles improve safety, guide users, and support universal design. RY Tactile Tiles meet global accessibility standards, making public spaces safer and more inclusive.
You should consider the location and expected foot traffic.
PVC works well indoors and outdoors.
Polyurethane suits high-traffic areas.
Stainless steel offers the best durability for busy public spaces.
You can install tactile tiles on concrete, granite, tile, and marble. Always check that the surface is clean, dry, and level before starting. RY Tactile Tiles work with most common building materials.
Most adhesives need at least 24 hours to cure.
Always follow the manufacturer’s instructions for best results. Avoid walking on the tiles during this time.
Sweep or clean the tiles weekly.
Inspect for damage monthly.
Pressure wash every few months.
Deep clean once a year.
Regular care keeps your tactile tiles safe and effective.
| Standard | Compliance |
|---|---|
| ADA | ✅ |
| PROW | ✅ |
| International | ✅ |
RY Tactile Tiles meet global accessibility standards, making them a reliable choice for public spaces.


